Wednesday, 2 November 2011

Cuts

I've cut the mesh to create the holes in girl's wet suit. While I was cutting it, I was keeping an eye on keeping everything in quads and at the same time give the mesh some logical edge flow. Here are the renders of the cuts:


I've managed to keep everything in quads, but I'm not very happy with the edge flow. I've decided to subdivide it and see how it's going to look on a smooth model. The result wasn't so bad, so I'll leave it like than. Here is a clip of a smooth model, I didn't show the wire frame here because I wanted to just focus on the surface:

Girl BaseMesh

To improve our story, we’ve decided to add a character to the environment. The main character is a girl who is curious of the world outside the jellyfish. The team asked me to model and rig the girl.

I was given nice image planes by Simone:


Based on them I’ve modelled a base mesh of the girl’s body:


Now I will need to figure out the cuttings in this mesh to match the shape of her outfit. This is going to be a bit of a challenge to keep the edge flow relevant to the designs and keep everything in quads. I need to make these cuts to be able to extrude along them. The extrusions will add thickness to the outfit. Here is an image where I’ll add those cuts:


Plankton Speed

I've rendered the particles and showed them to my group. The group has decided, they move too fast. Here is the clip:


So I've slowed it down 5x. I've achieved this by decreasing all the values. Here is the clip:

Plankton Particles

As I’ve done the image of plankton, now I need to assign it to the particles. I’ve created polygon plane and applied the texture with the plankton to it. I’ve attached it to the particles using instancer. However, I wanted my planes to always face the camera to create effect of sprites. So I’ve added some extra per particle attributes: plankton scale pp, sprite world up, sprite aim pos, sprite aim axis and sprite aim up axis. And then I’ve written short expression:
Plankton.spriteAimAxis = <<0, 1, 0>>;
Plankton.spriteAimUpAxis = <<0, 0, 1>>;
Plankton.spriteAimPos = <<UnderwaterCam.tx, UnderwaterCam.ty, UnderwaterCam.tz>>;
Here is a play blast and render:


As you can see the sprites are too big. To decrease the size I’ve resized the first plane I’ve created to 0.05. Here is another render:


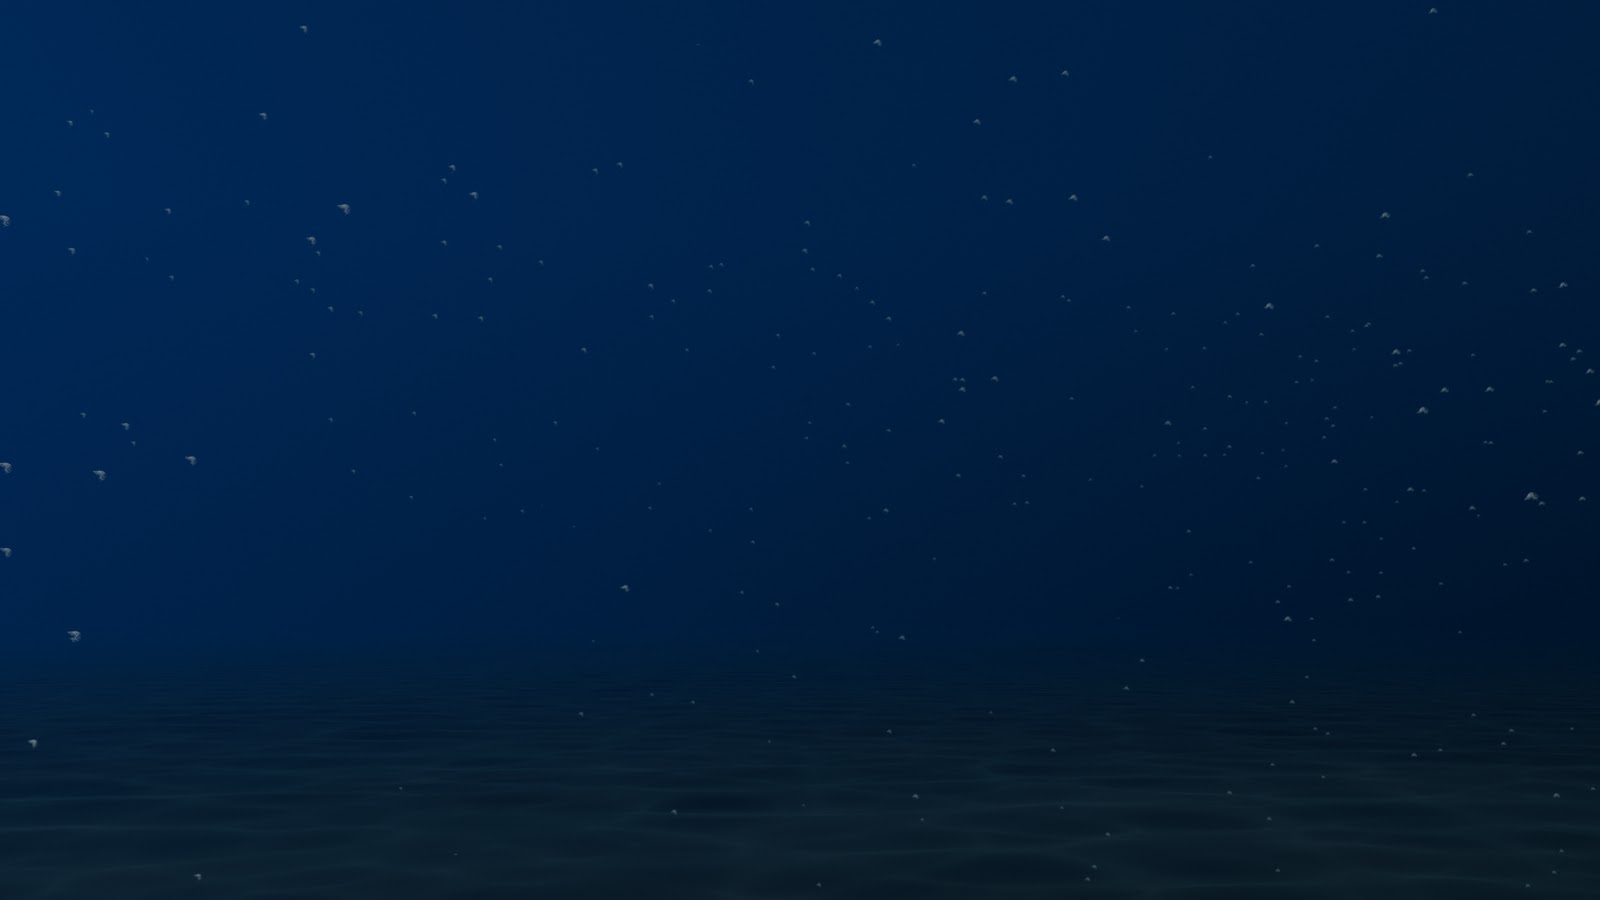
I also want to have a lot more of them, so I’ve increased emitter rate from 25 to 100. I’ve also hidden the emitter plane. And another render:


Photoshop

I’ve chosen an image of plankton that I liked the most and using Photoshop I’ve made it black and white with very high contrast. This needs to be black and white, because I’m going to connect it to transparency in Maya. Here is the image before and after:


Plankton Research

I’m going to connect a polygon plane to each of the particles with an image of plankton. But before I go to Photoshop to create that image, I need to know how the plankton looks like. I’ve looked at some images of the plankton.


Monday, 31 October 2011

Particles

To make the water even more believable, I've decided to do plankton particles. To create a plankton effect I’ve created a nurbs plane and set it as an emitter. But the particles were going straight up and quite fast. To decrease their speed I've created a gravity field and set the magnitude value to -0.1. And to add some randomness in the movement I've added turbulence field and set the magnitude value to 50 and frequency value to 0.5.
Here is a play blast of the particles: